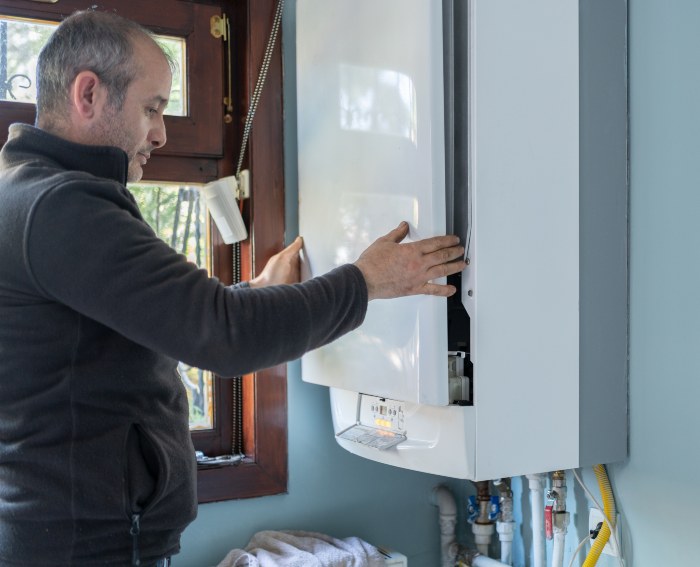
How To Flush a Water Heater

Flushing your water heater is a simple yet essential maintenance task every homeowner should know. Over time, sediment build-up in the tank can lead to reduced efficiency, higher energy bills, and a shorter lifespan for your water heater. Performing a routine flush not only ensures better performance but also extends the life of your unit. This guide will teach you how to flush a water heater in six easy steps so your household enjoys consistent hot water and peace of mind.
What You’ll Need
Before starting, gather the following tools and materials you’ll need for the task:
- A garden hose
- A bucket (or a drain nearby)
- A flathead screwdriver
- A pair of gloves (optional, for safety)
Safety First
If you have an electric water heater, ensure the power is turned off at your breaker panel. For gas water heaters, set the thermostat to the “pilot” position to avoid risk while working. Always allow the water inside to cool down before beginning to avoid burns.
Step 1: Turn Off the Water Heater
Start by turning off your water heater.
- For electric models: Locate your circuit breaker box and switch off the breaker supplying power to your water heater.
- For gas models: Set the thermostat located on the water heater to the “pilot” position to stop heating.
This step prevents the heater from operating while you flush the tank and keeps the process safe.
Step 2: Turn Off the Cold Water Supply
Next, locate the cold water valve at the top of your tank. Turn this valve into the “off” position. By shutting off the cold water supply, the heater won’t refill while you’re trying to drain it. This step is crucial to ensure the flushing process goes smoothly without interruptions.
Step 3: Connect the Garden Hose
Attach one end of the garden hose to the drain valve, located near the bottom of the tank. Make sure the connection is secure to prevent leaks. Place the other end in a safe drainage location, such as a nearby drain, bucket, or outside the house. This setup will direct water and sediment away as you drain the tank.
Step 4: Open the Drain Valve and Flush
Open the drain valve to begin emptying the water heater. You may need a flathead screwdriver to turn the valve. The water will flow out of the tank, carrying with it the build-up of sediment. To completely flush the tank, turn on the cold water supply briefly while the drain valve remains open. This helps dislodge any stubborn sediment stuck inside. Continue flushing until the water runs clear.
Step 5: Close the Valve and Refill
Once the water runs clear, close the drain valve tightly and remove the garden hose. Next, turn the cold water supply back on to refill the tank. Keep a nearby faucet open on the hot water setting to allow air to escape as the tank fills. After the tank is full, turn off the faucet.
Step 6: Restore Power or Gas
Finally, restore power or reignite your gas water heater.
- For electric models: Flip the breaker back on.
- For gas models: Turn the thermostat back to its original setting and relight the pilot light, if necessary.
Allow the heater 20–30 minutes to warm up before checking your hot water supply.
Final Tips
- Flush Annually: Make it a habit to flush your water heater once a year to maintain energy efficiency and prevent sediment build-up.
- Inspect Regularly: While flushing, take the opportunity to inspect the tank for leaks or signs of rust. Address any issues promptly to avoid larger problems.
Contact Triple-T For Professional Help
Knowing how to clean and drain your water heater is a small effort that goes a long way in reducing repair costs and improving performance. Looking for expert assistance? At Triple-T Heating, Cooling, Plumbing & Electrical, our licensed technicians in Utah are here to help. Contact us today to schedule a service if you’d rather leave maintenance to the pros.


